Guide home
Introduction to the Conjugate System
Max Effort MethodDynamic Effort MethodRepetition Effort MethodProgramming
How to Test, Setup, and Use Bands
Band Setups and Tensions
Squats: MonoliftSquats: Squamish BlocksSquats: Re-direct Power RackSquats: Re-direct Spotter ArmsSquats: DumbbellsSquats: 16\u201d Camber Plate VariantDeadlifts: Power RackDeadlifts: Infinity RigRack Pulls: Power RackBench Press: Power RackBench Press: Safety Spotter ArmsBench Press: DumbbellsBench Press: Future PressShoulder Press: Power RackShoulder Press: Dumbbells
How to Setup and Use Chains
How to Combine ChainsSquat: Chains Set-upSquat: Bands + Chains Set-upDeadlift: Chains Set-upSumo Deadlift: Chains Set-upBench Press: Chains Set-upBench Press: Bands + Chains Set-up
Specialty Bars
Safety Squat BarMulti-grip BarRogue 16\u201d Camber BarBuffalo + Bow Bar
Appendix
Conjugate Training Guide

Section · source pages 42

Squats: Monolift

Source-derived setup details for Squats: Monolift.

Squats: Monolift

source page 42
Source image: source page 42
source page 42
Source image: source page 42

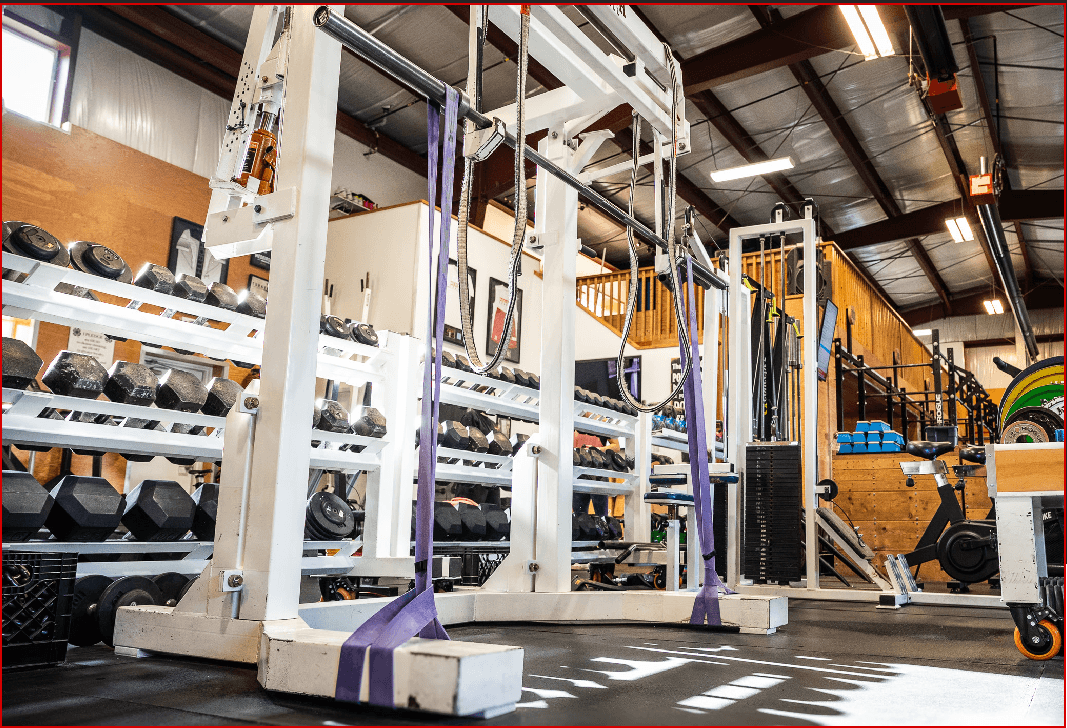
Hitching the band (as shown above) is the preferred set up for squatting with bands.

PreviousBand Setups and TensionsNextSquats: Squamish Blocks

Source reference

Artifact
bands-manual
Edition
2026-03-27
Pages
42
Status
needs_chris_review

Related links

Squats: Squamish BlocksGuide